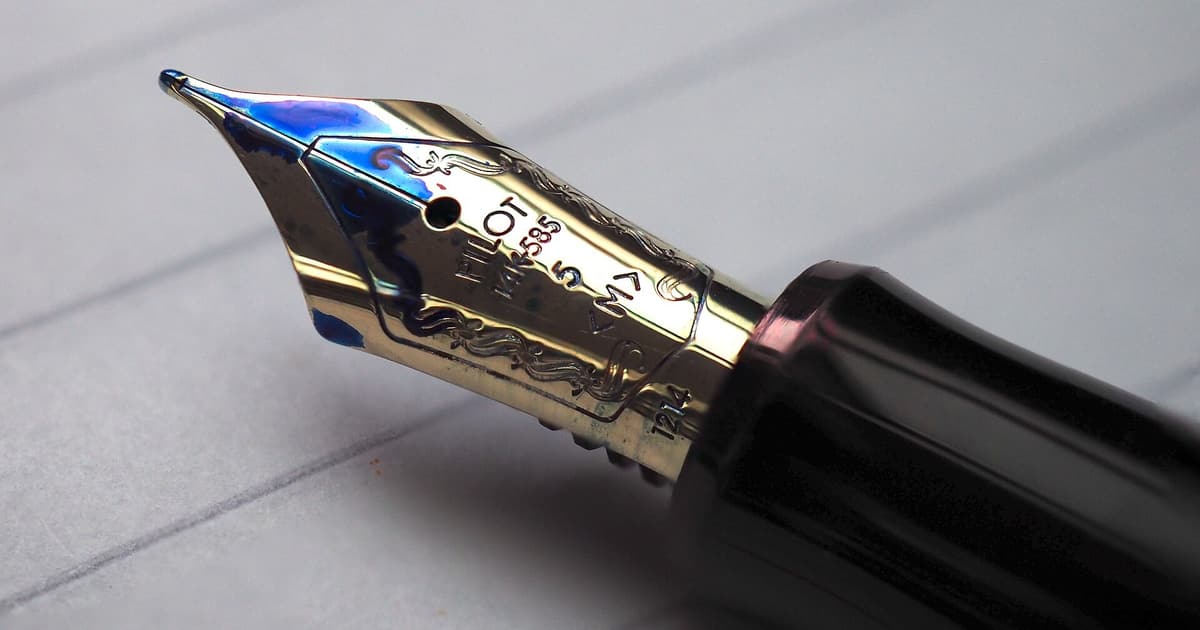

Flush the nib and feed with cool or lukewarm water until the water runs clear, blot with a tissue, and let the pen air dry. Do it each time you change ink, and every month or two if you stay with one ink.
That covers almost every pen. The details below are the differences between filling systems, and what to do if plain flushing does not shift the ink.
When it needs doing
| Moment | What to do | Why |
|---|---|---|
| Changing ink colour or brand | A full flush first | Platinum’s advice is to clean nib and feeder thoroughly to avoid clogging |
| Same ink, regular use | A flush every one to two months | The interval suggested in this guide |
| Putting a pen away for a long time | Remove the cartridge or converter, clean, dry | Platinum warns that dried ink can block the feeder during long idle periods |
| Flow turning thin or stop-start | Flush before anything else | Old ink is worth ruling out first, and water costs nothing to try |
Before you begin
You need a clean glass of water, kitchen roll or tissue, and a sink you do not mind staining. Put the plug in. Small parts and sinks do not mix.
Check the water temperature with your hand. Sheaffer’s guide asks for lukewarm water and warns against hot water because it may damage delicate components. Some pen parts are plastic or hard rubber, and a kettle is not a cleaning tool. Plain water is all the guides we read call for in routine cleaning. Do not reach for washing-up liquid or solvents unless your pen's own instructions allow them.
The method for your pen
Cartridge pens
- Pull off the cartridge. If it still has ink in it, stand it upright somewhere safe, or finish it first.
- Hold the section under a gentle stream of water, or stand it nib-down in a glass for a few minutes.
- Change the water and repeat until it stays clear.
- Blot the nib and feed with tissue, then leave the section to dry before fitting a new cartridge.
Converter pens
- Empty the converter back into the ink bottle, if you are keeping the ink in the same colour.
- Dip the nib in clean water, draw water up with the converter, and push it out again.
- Repeat with fresh water until it comes out clear.
- Take the converter off and rinse both parts. Converters come apart easily for cleaning, which is one of their merits.
Piston fillers
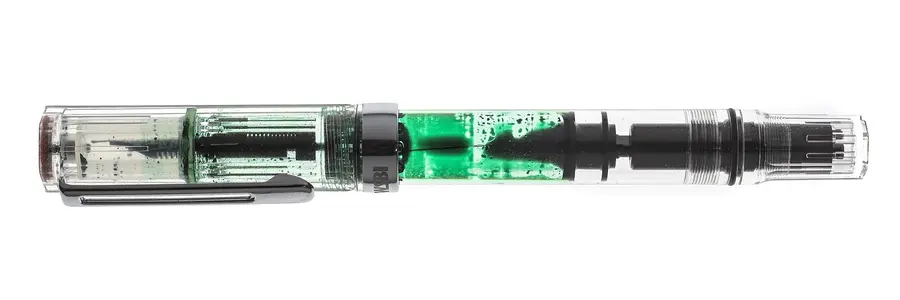
Work the piston as if you were filling the pen, with the nib in clean water, and expel it again. The same guide recommends this repeated filling and emptying for piston pens that cannot be taken apart. It takes longer than a cartridge pen, since a larger reservoir holds more ink. Do not be tempted to dismantle the mechanism, as full disassembly can need a special wrench.

Drying it properly
Water left in the feed will thin the next fill and turn your first lines pale. Blot the nib and feed, as Sheaffer suggests, and let the pen air dry completely. A rolled tissue touching the nib draws water out by the same capillary action that normally carries ink. Stand the section nib-down on it in a glass for a while, then lay it flat. Leave the cap off until it is done, since a sealed cap keeps moisture in.
When water alone seems not to be enough
- The pen has dried out completely
- Soak the nib and section. This guide suggests slightly warm water, possibly overnight. Change the water and flush as usual in the morning. Dried dye ink nearly always redissolves in time, so patience beats force here.
- The water runs clear but the flow is still poor
- Paper fibres can sometimes lodge in the slit. Flush again and write on smoother paper for a day before you try anything else. Our entry on paper covers what to look for. If nothing changes, ask a pen repairer to look at the nib.
- You used a pigmented ink
- Be more careful about keeping up. Pigment grains are too large to dissolve, as Platinum explains, so they cannot be redissolved the way dye can. Wikipedia's overview notes that pigmented fountain pen inks are very finely ground to reduce clogging, which reduces the risk without removing it. Do not let this kind of ink dry out in a pen.
- You used an iron gall ink
- These can leave a residue, and older formulas can corrode metal parts. A commenter on one ink review advises emptying and flushing the pen before storing it, and that is sensible caution. Our entry on permanent inks covers the chemistry.
- Your maker sells a cleaning kit
- Follow the maker's instructions for that pen. Platinum, for example, offers its own cleaning kit for ink changes, then says to rinse with water and dry.
Do not use hot water, and do not scrape the slit with anything sharp. Do not force a stuck section or nib out of the pen. If an older or valuable pen will not free up, stop and take it to a pen repairer. A fix that can be undone is almost always worth more than a quick one that cannot.
A habit that saves effort
Leave the pen in use, and leave it capped. Ink stays in better condition in a pen you write with than in one you forget about. If you own several, keep only a couple inked at a time, and clean the others before they go in the drawer. Your journal is a good reason to reach for the pen each evening, and travel is a good reason to check the fill level: a half-empty pen and an aeroplane do not always get on.